How to Build the Best DIY Vocal Booth for Clear YouTube Audio
Creating quality YouTube videos isn’t just about having a good camera or flashy editing skills — sound matters just as much, if not more. One of the biggest challenges YouTubers face, especially those recording at home, is poor audio due to room echo, background noise, or bad acoustics. That’s where a DIY vocal booth comes in.
If you’ve ever recorded a video and noticed your voice sounds hollow or echoey, or worse, that distracting background noises make your audience lose focus, building your own vocal booth might be the game changer you need. And here’s the best part: it doesn’t have to cost a fortune or require complicated construction.
In this step-by-step tutorial, we’ll walk through how to create a simple yet effective DIY vocal booth tailored specifically for YouTubers. Whether you’re a beginner or upgrading your setup, this guide will help you get clean, professional audio without breaking the bank.
Why You Need a DIY Vocal Booth as a YouTuber
Let’s be honest — most of us don’t have access to professionally treated recording studios. Our rooms are usually full of hard surfaces like walls, floors, and ceilings that bounce sound around, creating echoes and reverb. This can make even the best microphone sound less than ideal.
A vocal booth is essentially a small, acoustically treated space that isolates your voice and reduces unwanted reflections and background noise. Professional vocal booths can cost hundreds or thousands of dollars, but a DIY vocal booth can get you very close to that sound quality at a fraction of the cost.
What a Vocal Booth Does for Your Audio
- Minimizes echo and reverb: Keeps your voice clear and focused.
- Blocks external noise: Reduces distractions like traffic, fans, or room noises.
- Improves microphone performance: Lets your mic capture your voice more naturally without picking up unwanted sound.
Imagine finally recording videos where your voice sounds crisp, warm, and studio-quality — all without needing a full room makeover. That’s what a vocal booth can do.
Comparing DIY Vocal Booth Options: What Works Best?
There are plenty of DIY vocal booth setups floating around the internet, but not all are created equal. Let’s quickly compare the most common methods you might consider:
| DIY Vocal Booth Type | Pros | Cons | Best For |
|---|---|---|---|
| PVC Pipe Frame + Blankets | Cheap, portable, easy to build | Not super durable or professional | Beginners on a budget |
| Closet Conversion | Uses existing space, very effective | Limited space, needs room access | Small spaces, budget-conscious |
| Foam Panels + Frame | Lightweight, better absorption | Can be pricey, less portable | Intermediate setups |
| Cardboard or Wood Box Booth | Solid, custom size, good isolation | Takes space, more construction | Serious hobbyists, pros |
In this tutorial, we’ll focus on a balanced approach that blends affordability, ease, and effectiveness — building a simple frame with sound-absorbing blankets and panels that you can customize to your space.
Step-by-Step DIY Vocal Booth Setup Tutorial
Step 1: Choose the Right Location
The first step is picking a spot in your home where your booth will go. Ideally:
- A quiet corner or closet away from windows and noise sources.
- A spot with carpet or soft furnishings to naturally reduce echo.
- Enough space for you to sit comfortably and position your microphone.
Even small corners work well — vocal booths don’t need to be large to be effective.
Step 2: Build the Frame
You don’t need fancy materials. Here’s a simple method:
Materials:
- PVC pipes or lightweight wooden dowels (about 1-inch diameter)
- Connectors (PVC elbows or T-joints)
- Measuring tape
- Saw (if using wood)
- Fabric clips or clamps
Instructions:
- Measure your desired booth size — about 3 feet wide, 3 feet deep, and 5 feet tall works well for most YouTubers.
- Cut the PVC or wood to size.
- Assemble a box frame with four vertical poles and a square base and top.
- Make sure it’s sturdy but easy to disassemble if needed.
This frame will hold your acoustic blankets or panels in place.
Step 3: Add Acoustic Treatment
Now, the magic happens.
- Acoustic Blankets: Thick moving blankets or soundproof blankets are affordable and do a great job absorbing sound reflections.
- Foam Panels: For extra absorption, add a few foam panels inside your booth, especially around the microphone area.
- DIY Bass Traps (optional): If your room has a lot of low-frequency echo, you can make bass traps by rolling up blankets or buying affordable traps online.
Use clamps or clips to hang blankets on all sides of your frame, creating an enclosed “booth.” Cover all walls and the ceiling of the frame if possible, but keep the front open or draped for easy access.
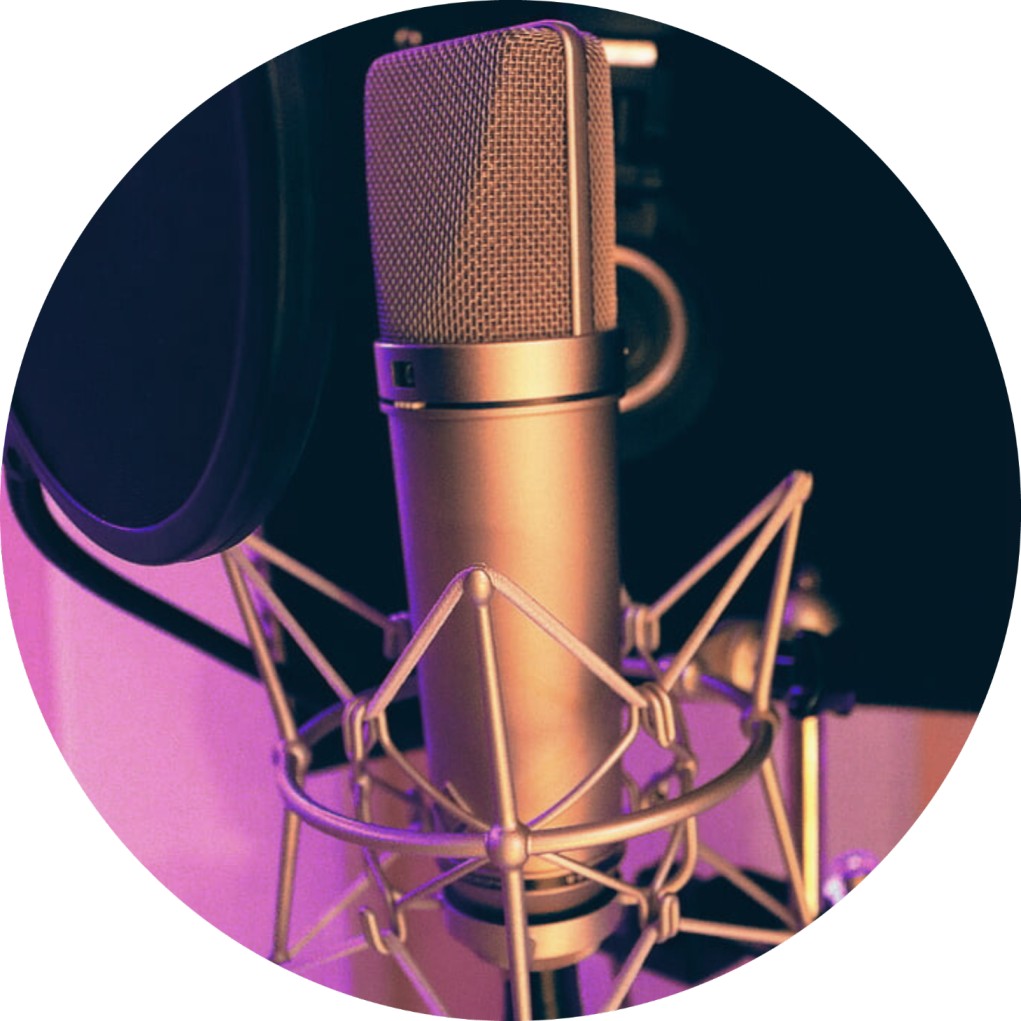
Step 4: Position Your Microphone
Inside your new booth:
- Mount your mic on a boom arm or stand inside the booth.
- Position yourself about 3-6 inches from the microphone for the best sound.
- Use a pop filter or windscreen to reduce plosives.
- Make sure the mic cable is secured to avoid unwanted noise.
This setup keeps your mic focused on your voice and blocks room noise and echoes.
Step 5: Test and Adjust
This part is crucial:
- Record a few test clips using your usual software or camera.
- Listen carefully for any remaining echo, background noise, or muffled sound.
- Adjust blankets, add panels, or tweak mic position as needed.
- Add soft furnishings (carpets, curtains) in your room around the booth for even better results.
Bonus Tips for Better Vocal Booth Performance
- Ventilation: Small booths can get stuffy. Consider leaving a small gap or adding a quiet fan outside.
- Lighting: Use soft LED lights inside or near your booth to maintain good video quality.
- Portability: Design your frame to be foldable if you want to move it around.
Why a DIY Vocal Booth Beats Other Solutions
If you’re wondering why not just buy a fancy mic with noise reduction or rely on software filters, here’s the truth: software can only do so much. A physical vocal booth improves your sound at the source, saving you from complicated post-processing and maintaining natural tone.
Plus, building your own booth is satisfying and teaches you more about sound — a skill that pays off in every future video or recording.
Final Thoughts: Is a DIY Vocal Booth Worth It?
Absolutely. For any YouTuber serious about sound quality, a DIY vocal booth is one of the best investments you can make. It elevates your audio, makes your content feel professional, and helps you stand out from the crowd — all without emptying your wallet.
If you’ve struggled with echo, noise, or low-quality sound, give this tutorial a try. Start small, experiment with different materials, and watch your audio improve dramatically.
Ready to Build Your Own DIY Vocal Booth?
Have you tried making a vocal booth or soundproofing your recording space? What worked best for you? Drop your tips and experiences in the comments — we’d love to hear from you!
And if you want more practical tips on microphones, setups, and YouTube gear, check out our detailed guides here.
Happy recording and happy creating!
Meta Title
DIY Vocal Booth Setup for YouTubers: Step-by-Step Easy Tutorial
Meta Description
Build your own DIY vocal booth to improve YouTube audio quality. Follow this step-by-step tutorial to reduce echo and background noise without breaking the bank.
If you want, I can also suggest some images or infographics to include or help you with internal linking to your microphone reviews! How does that sound?